This is a great tasting bread with so many possibilities. I like to just eat it with butter, but it’s also great with a grilled chicken breast and melted provolone. It would also be great with some cranberry sauce and leftover turkey breast. The basic ciabatta recipe is from the King Arthur Flour website. I then added sun-dried tomatoes, garlic and rosemary. The sun-dried tomatoes give it a nice sweetness while the garlic and rosemary give it an herbiness (I made up a word) that is just comforting to me. Plus the bread itself has the light tang of sourdough that gives it a much nicer flavor than just a regular yeast breast.
Italian Sun-dried Tomato Ciabatta
1 Tbsp Active dry yeast
1 c. sourdough starter
1 1/4 c. warm water (100-110 degrees)
3/4 c. warm milk (100-110 degrees)
1 Tbsp olive oil
1 Tbsp salt
6-8 c. flour
6 cloves garlic, minced
1/4 c. sun-dried tomatoes, diced
2 Tbsp fresh rosemary, chopped
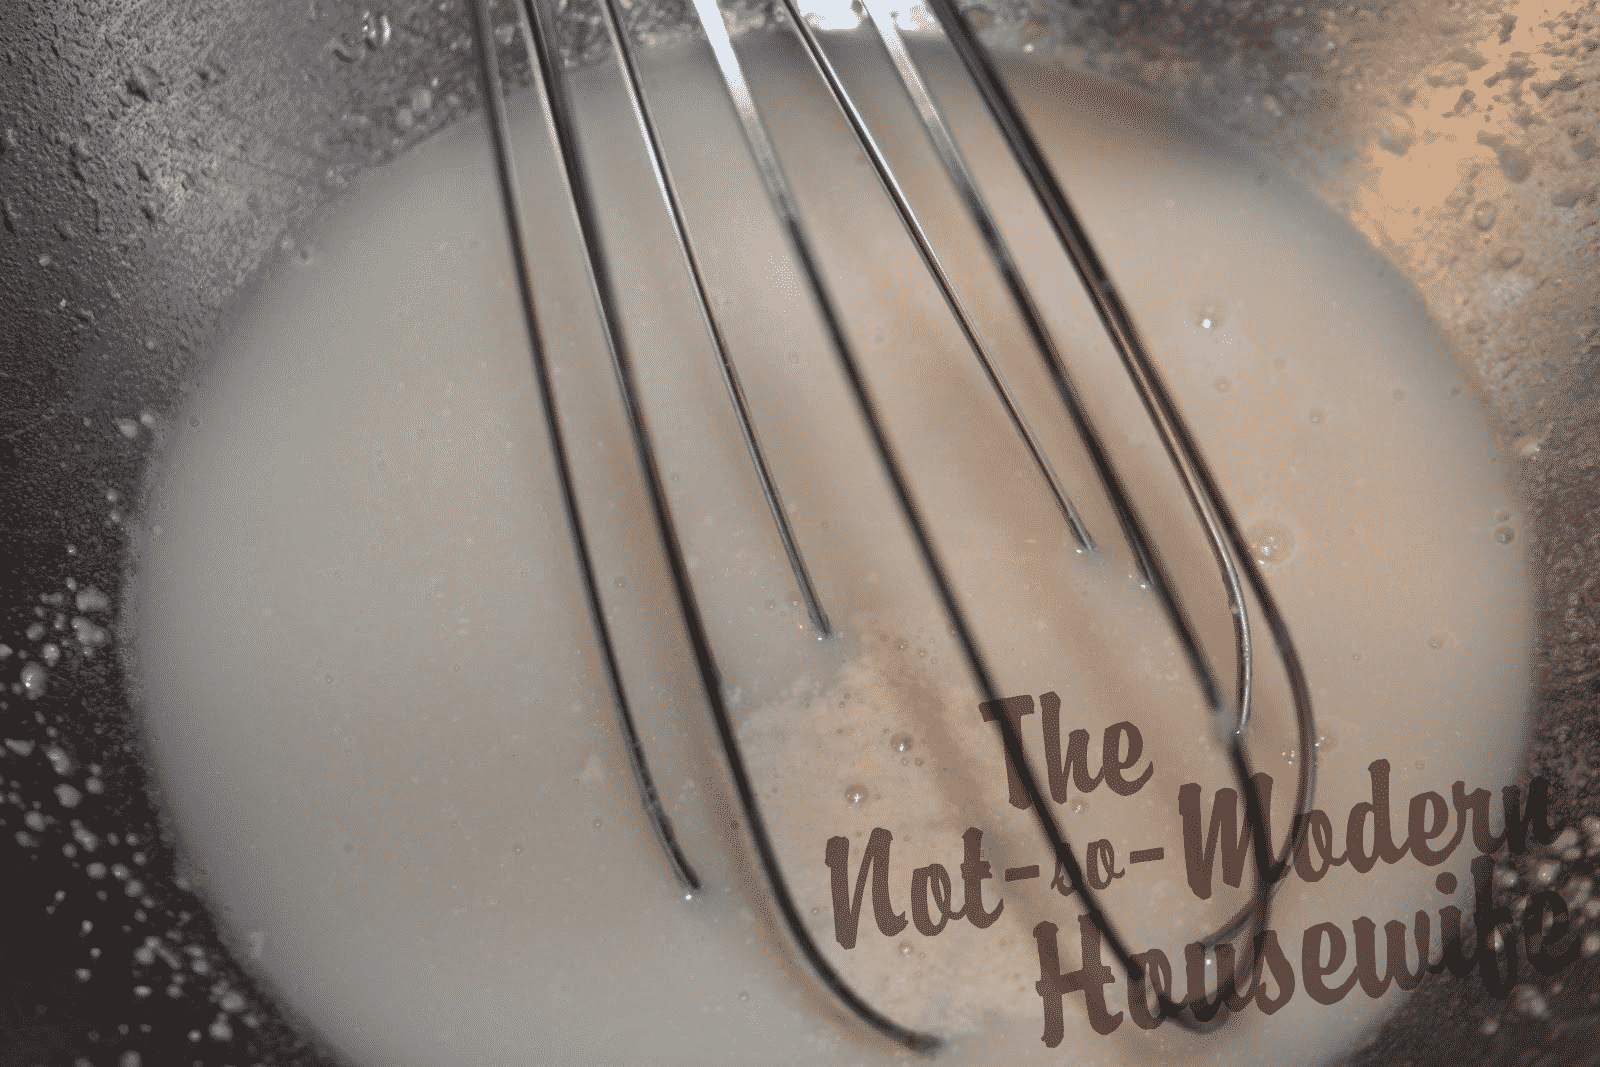
In mixing bowl, whisk yeast with water and let set 10 minutes to activate. Water should start to bubble slightly, that will let you know the yeast is alive. Add sourdough starter, warm milk, olive oil, and half of flour. Add salt last, on top of flour. You want to avoid letting the salt come in direct contact with the yeast. Salt kills yeast. It will not bode well for your bread. With a dough hook attachment, start mixing the dough on the lowest setting. Slowly add more flour until the dough pulls away from the sides of the bowl.

Ciabatta should be a soft dough, so you do not want to add too much flour and make it too stiff. It should feel a little sticky.
Once the proper moisture level has been achieved, turn the mixer speed up to the second speed. This is when your gluten is actually going to develop, so you want the speed to be fast enough to properly manipulate the proteins without being so fast that it destroys them. Depending on your dough, this could take several minutes. The general rule of thumb is 7-8 minutes, but I’ve had it take as long as 15. As one Chef told me, “it takes as long as it takes.” I have noticed that it takes longer with stiffer doughs and not as long with softer, wetter doughs. You’ll notice the dough start to take on a smoother appearance.
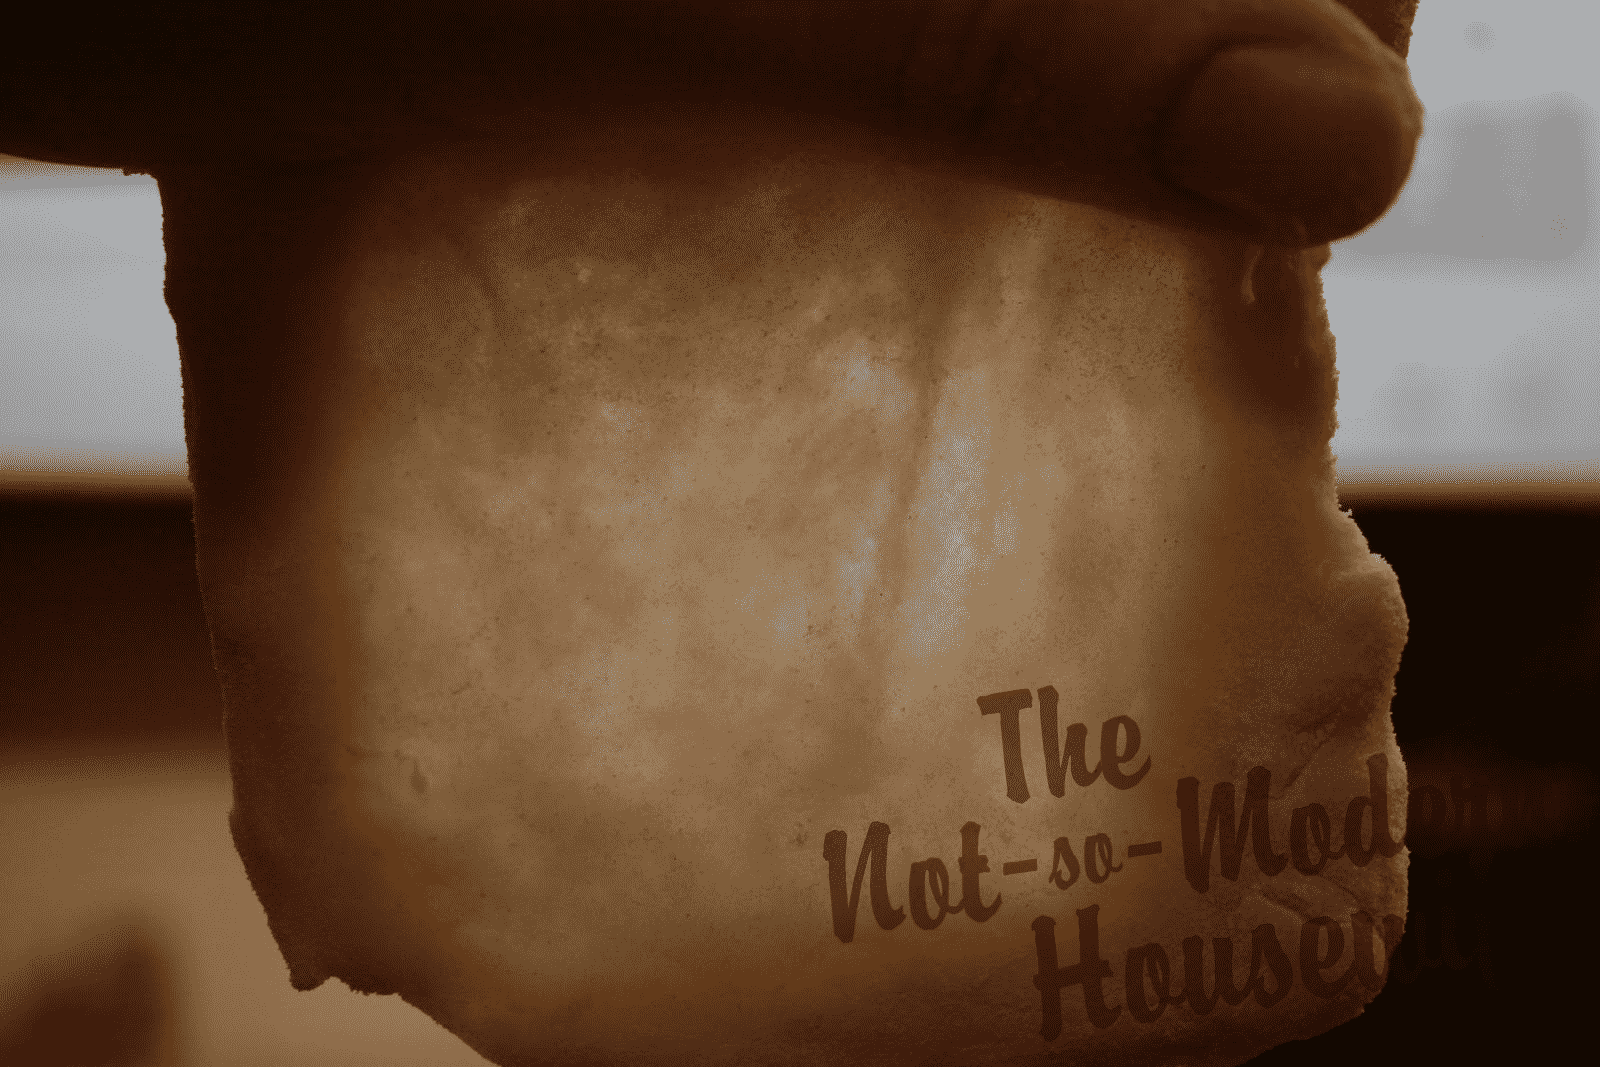
You can test the gluten development by doing the “window pane test.” This is really the only way to know that your bread is ready. Take a pinch of dough and slowly pull it apart in the center. You should be able to see through the center of the dough without the dough breaking. That’s when you know you have proper gluten development.
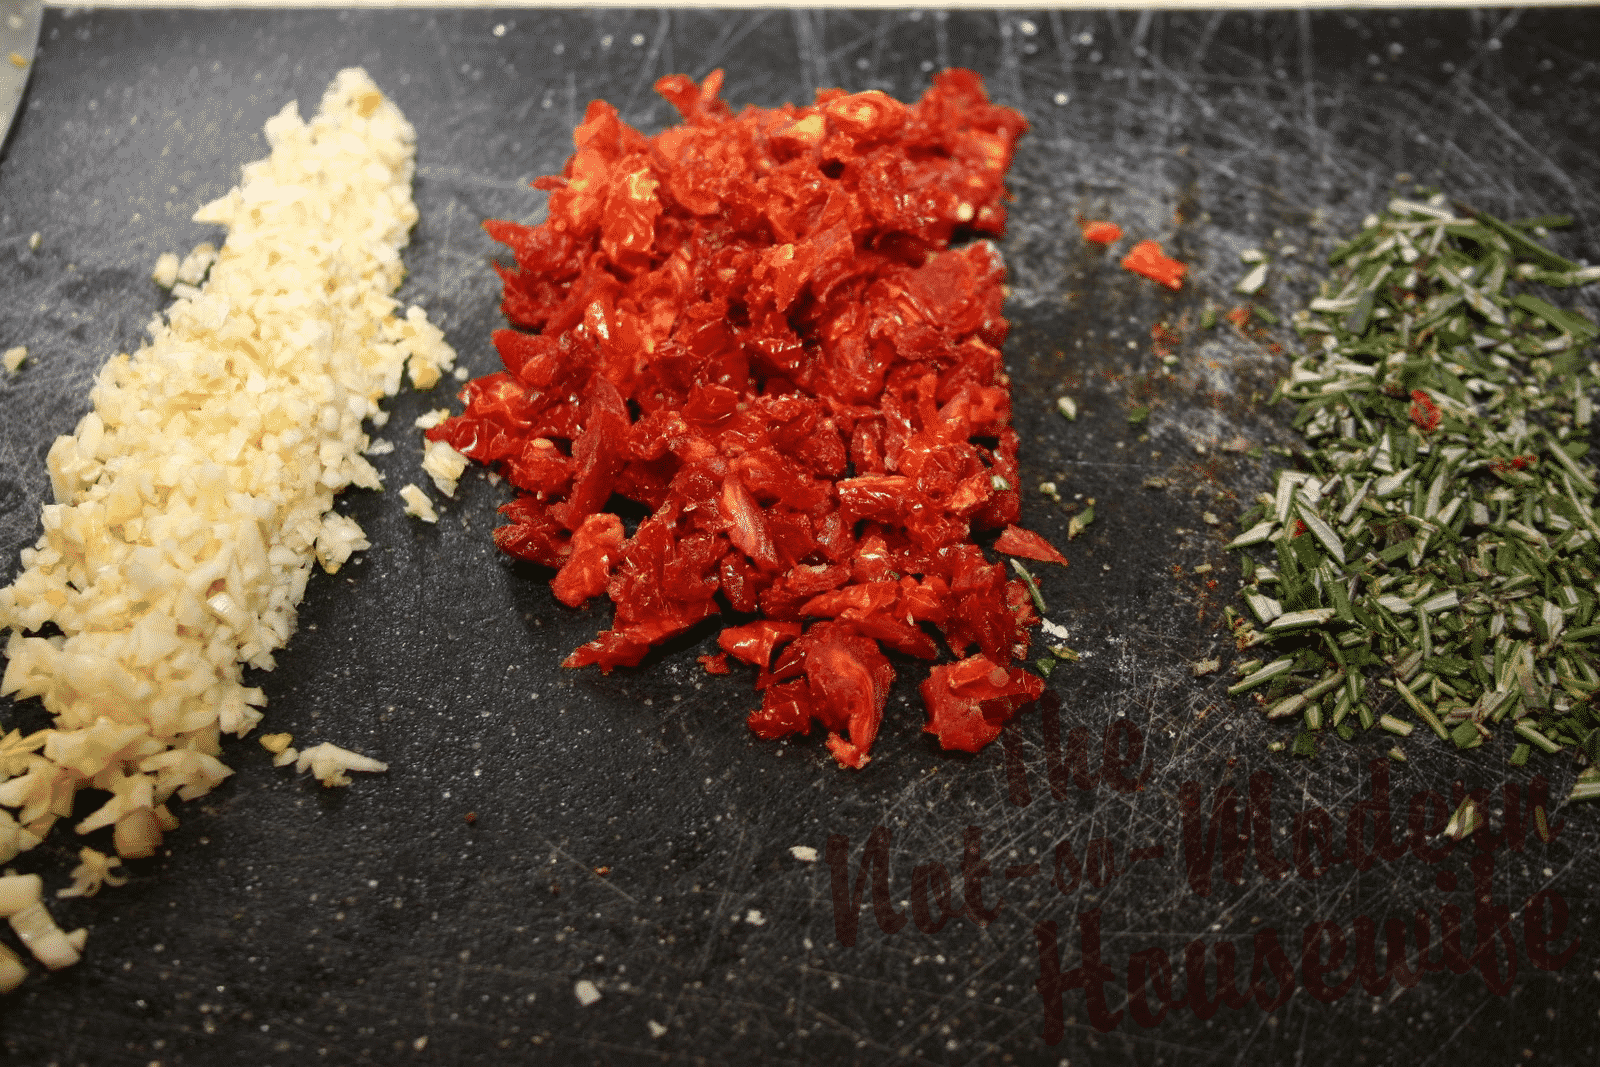
While my dough was mixing, I got my garlic, sun-dried tomatoes and rosemary ready.
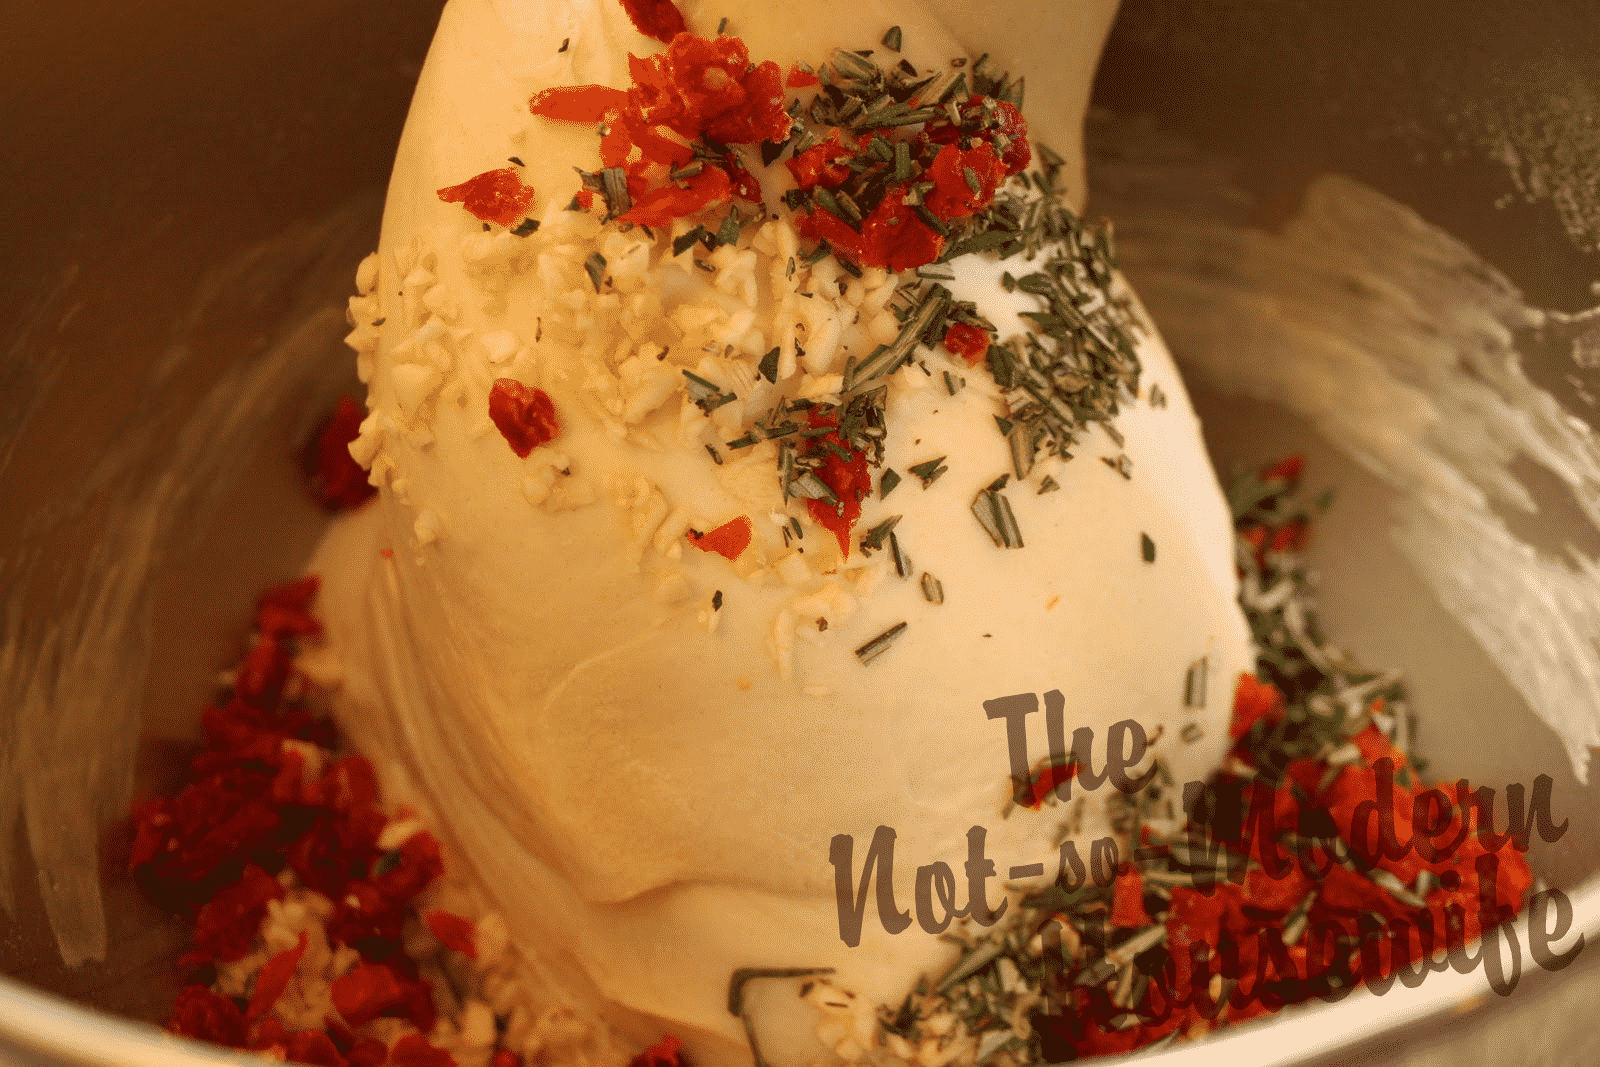
I go ahead and throw it in the mixer with the dough (notice how smooth the dough looks) and turn the mixer back on low. I don’t want the gluten to develop any further, but I want the ingredients to mix fully into the dough.
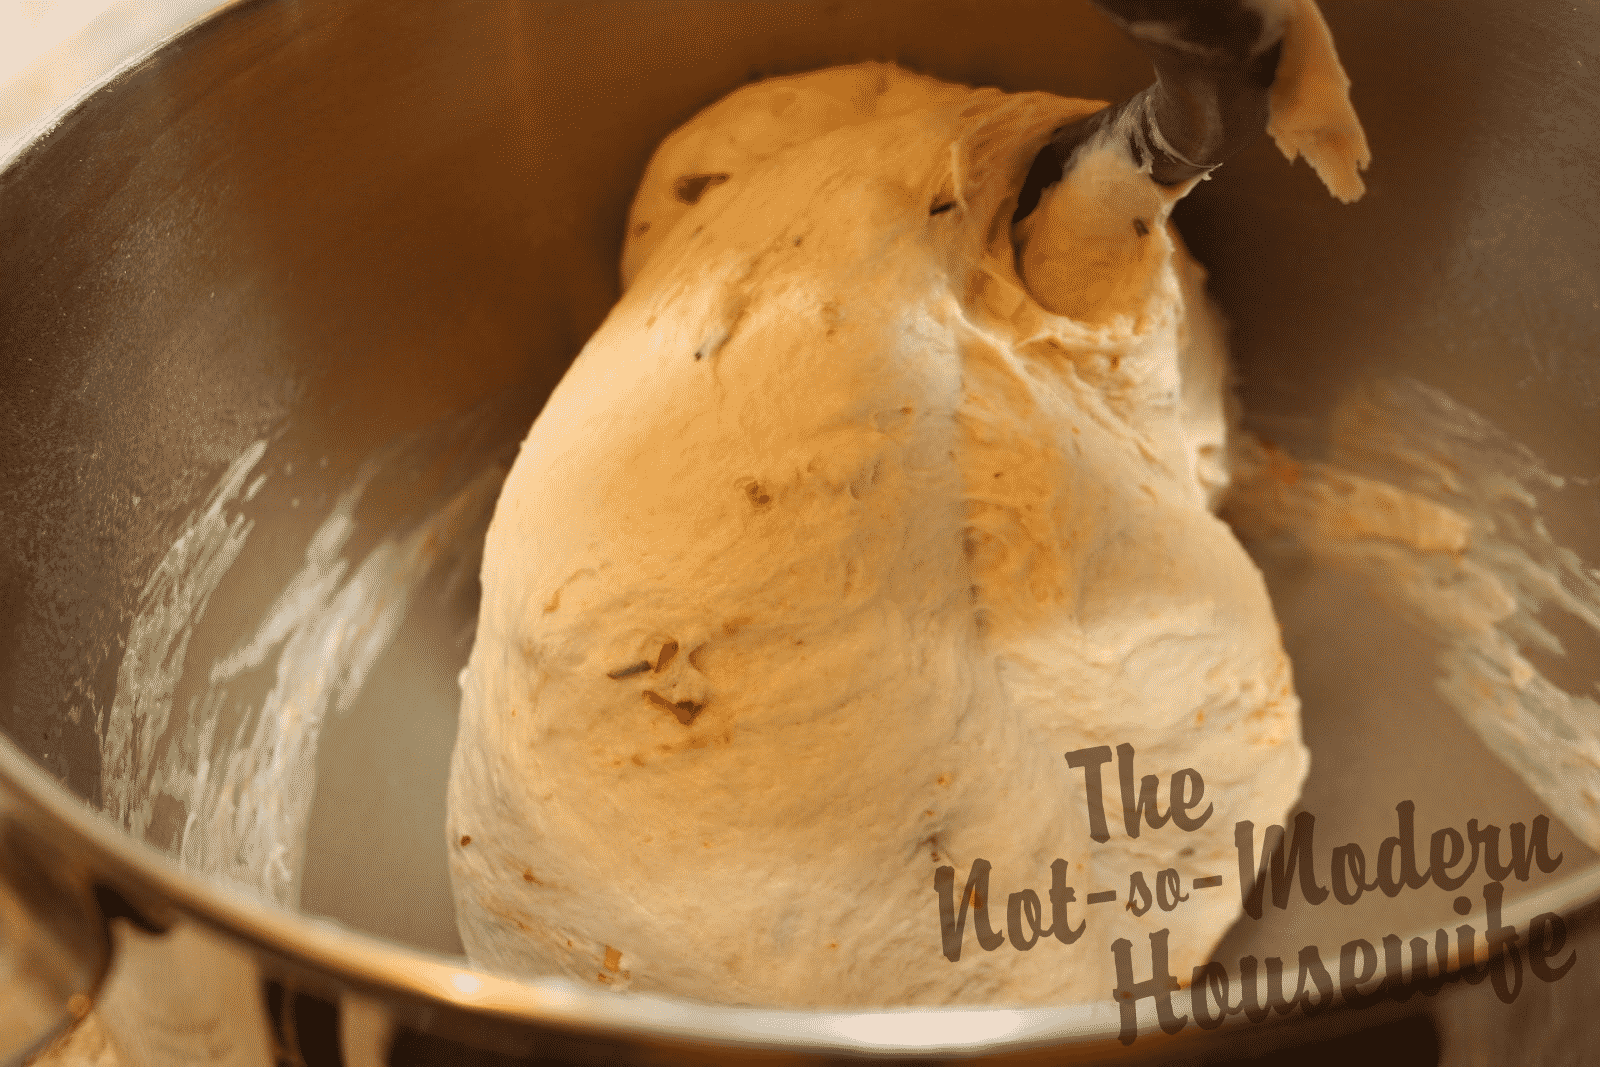
I lightly oil a large bowl with olive oil and let the dough bulk rise, covered, in the bowl for 1-2 hours. The bulk rise time will depend largely upon how active the sourdough starter is. Bulk rise is done when the dough has doubled in size and you leave an indent in the dough when you touch it with two fingers.

After bulk rise, I turn the dough onto a floured surface and punch it down.
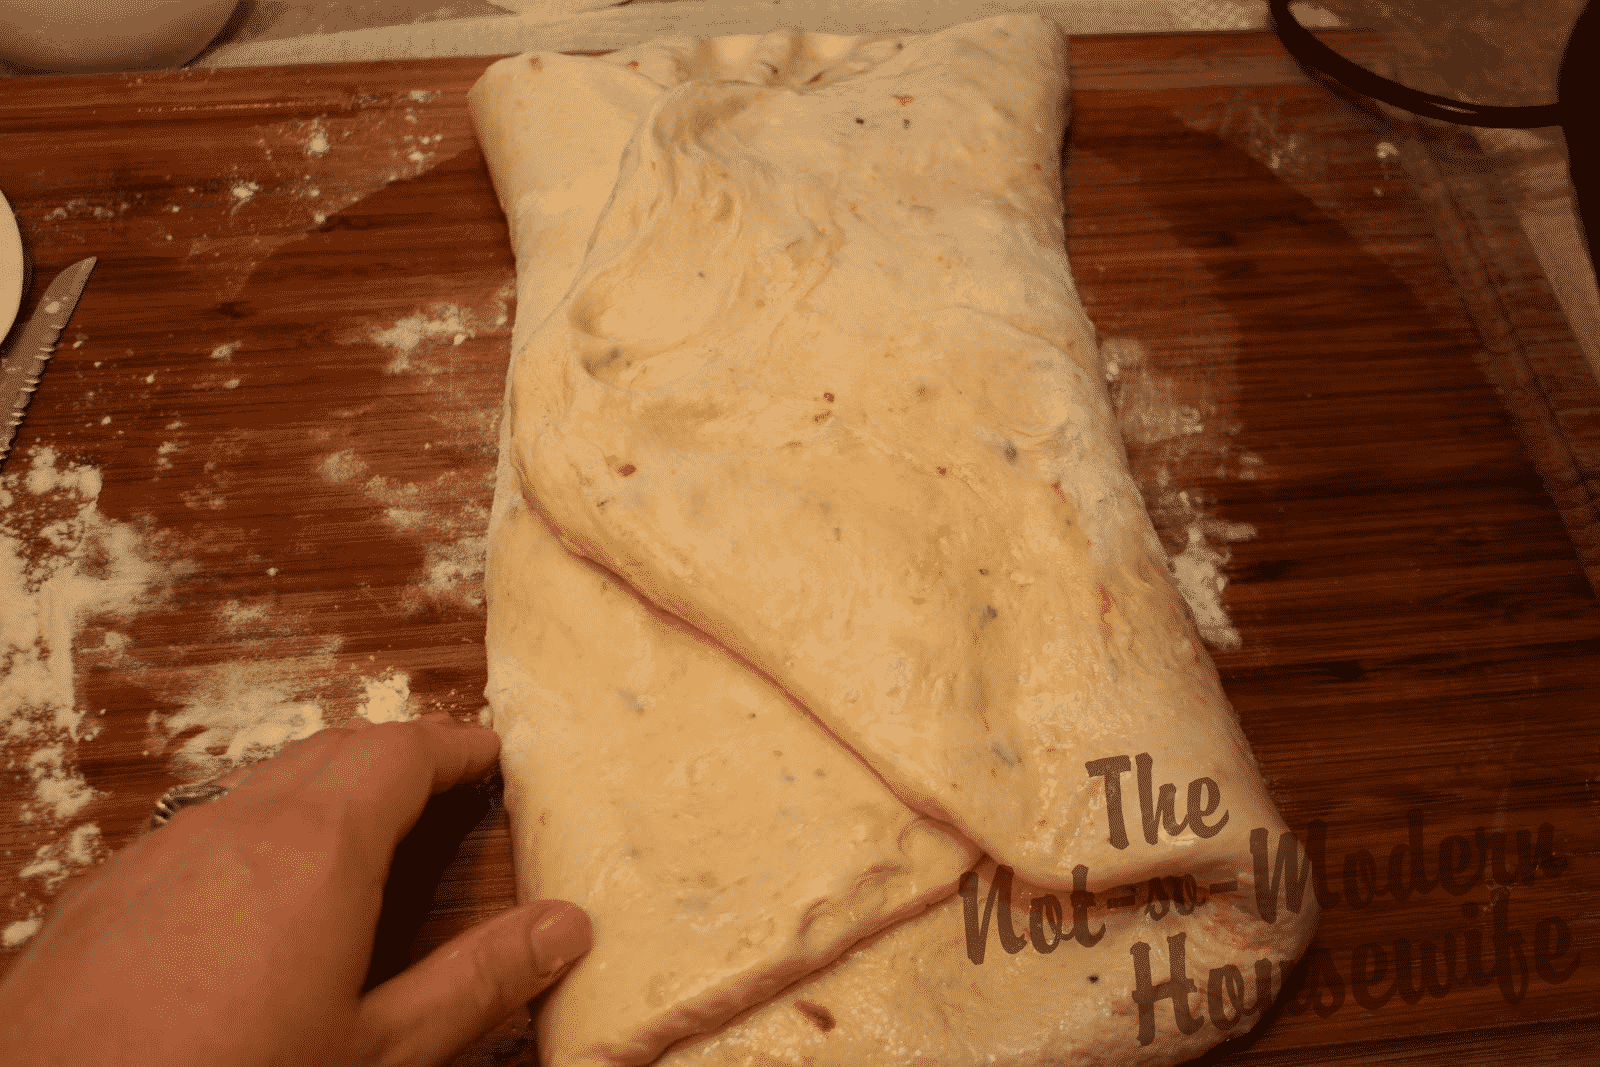
Fold the dough over in thirds to help distribute the heat and aid in gluten development.

Fold the dough in thirds the other direction. Flip the dough over so the smooth side is up, cover and allow to bench rest for 30 minutes.

Divide the dough into two equal halves. Degas the dough.

Fold the dough over in thirds and seal the edges. Use a little water on your fingers if the dough will not seal.
Using water on your fingertips, seal the ends of the loaf. Place loaves on a paper lined sheet pan, seams down and let rest 30 minutes.
Preheat oven 375 degrees. Just before loaves are ready to go in the oven, use a serrated knife to cut three deep diagonal slits in each loaf. Brush each loaf with water. Place a pan of ice on the lowest oven rack.
Place the bread on the middle oven rack. After a few minutes of baking, open the oven and brush bread with water one more time. (If you have a clean spray bottle with water in it, you can also spray that in the oven around the bread just before placing it in the oven and just after to also create the steam effect.) The water and steam in the oven is what gives the bread its soft crust. Unfortunately, most home ovens do not have steam injectors like commercial ovens do.
Bake about 55 minutes or until a thermometer inserted in the center of the bread reads 190-200 degrees. Tent the bread with foil if it starts to get too much color before its done baking.
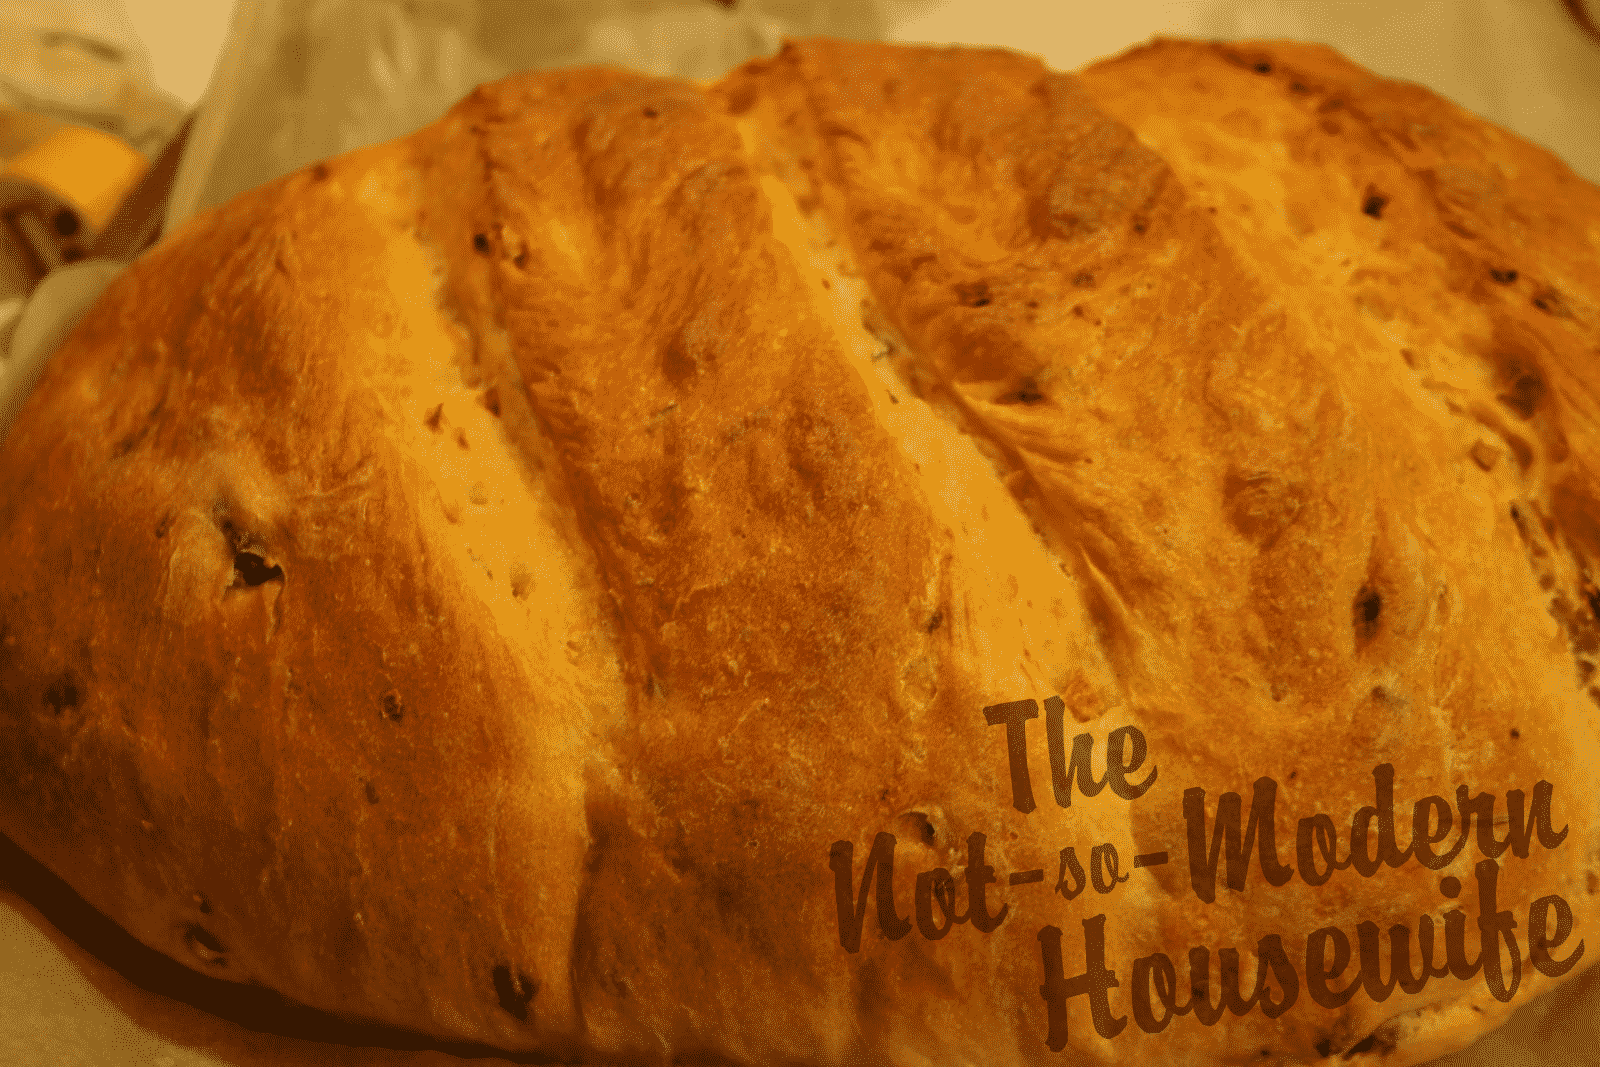
Italian Sun-dried Tomato Ciabatta
Ingredients
- 1 Tbsp Active dry yeast
- 1 c. sourdough starter
- 1 1/4 c. warm water, 100-110 degrees
- 3/4 c. warm milk, 100-110 degrees
- 1 Tbsp olive oil
- 1 Tbsp salt
- 6-8 c. flour
- 6 cloves garlic, minced
- 1/4 c. sun-dried tomatoes, diced
- 2 Tbsp fresh rosemary, chopped
Instructions
- In mixing bowl, whisk yeast with water and let set 10 minutes to activate. Water should start to bubble slightly, that will let you know the yeast is alive.
- Add sourdough starter, warm milk, olive oil, and half of flour. Add salt last, on top of flour. Do not let the salt come into direct contact with the yeast.
- With a dough hook attachment, start mixing the dough on the lowest setting. Slowly add more flour until the dough pulls away from the sides of the bowl. Ciabatta should be a soft dough, so you do not want to add too much flour and make it too stiff. It should feel a little sticky.
- Once the proper moisture level has been achieved, turn the mixer speed up to the second speed. Depending on your dough, this could take several minutes. The general rule of thumb is 7-8 minutes, but it can take as long as 15. You'll notice the dough start to take on a smoother appearance.
- You can test the gluten development by doing the "window pane test." Take a pinch of dough and slowly pull it apart in the center. You should be able to see through the center of the dough without the dough breaking. That's when you know you have proper gluten development.
- While the dough is mixing, get the garlic, sun-dried tomatoes and rosemary ready.
- Add the ingredients to the mixer with the dough and turn the mixer back on low. Mix until the ingredients are well incorporated into the dough.
- Lightly oil a large bowl with olive oil and let the dough bulk rise, covered, in the bowl for 1-2 hours. It is done when the dough has doubled in size and you leave an indent in the dough when you touch it with two fingers.
- Turn the dough onto a floured surface and punch it down.
- Fold the dough in thirds. Flip it over so the smooth side is up, cover and allow to bench rest for 30 minutes.
- Divide the dough into two equal halves. Degas the dough.
- Fold the dough over in thirds and seal the edges. Use a little water on your fingers if the dough will not seal.
- Using water on your fingertips, seal the ends of the loaf. Place loaves on a paper lined sheet pan, seams down and let rest 30 minutes.
- Preheat oven 375 degrees. Just before loaves are ready to go in the oven, use a serrated knife or razor blade to cut three deep diagonal slits in each loaf. Brush each loaf with water. Place a pan of ice on the lowest oven rack. Place the bread on the middle oven rack. After a few minutes of baking, open the oven and brush bread with water one more time. (If you have a clean spray bottle with water in it, you can also spray that in the oven around the bread just before placing it in the oven and just after to also create the steam effect.)
- Bake about 55 minutes or until a thermometer inserted in the center of the bread reads 190-200 degrees. Tent the bread with foil if it starts to get too much color before its done baking.
Notes
Adapted from King Arthur Flour

